
Paint by numbers is a creative and therapeutic hobby that combines the joy of painting with the structure of a guided puzzle. This relaxing craft allows you to create stunning, vibrant artwork by matching numbered paint pots to specific areas on a canvas. While the process is generally straightforward, one common frustration for beginners and pros alike is the “ghost number”—when the printed number on the canvas remains visible even after you have applied the paint.
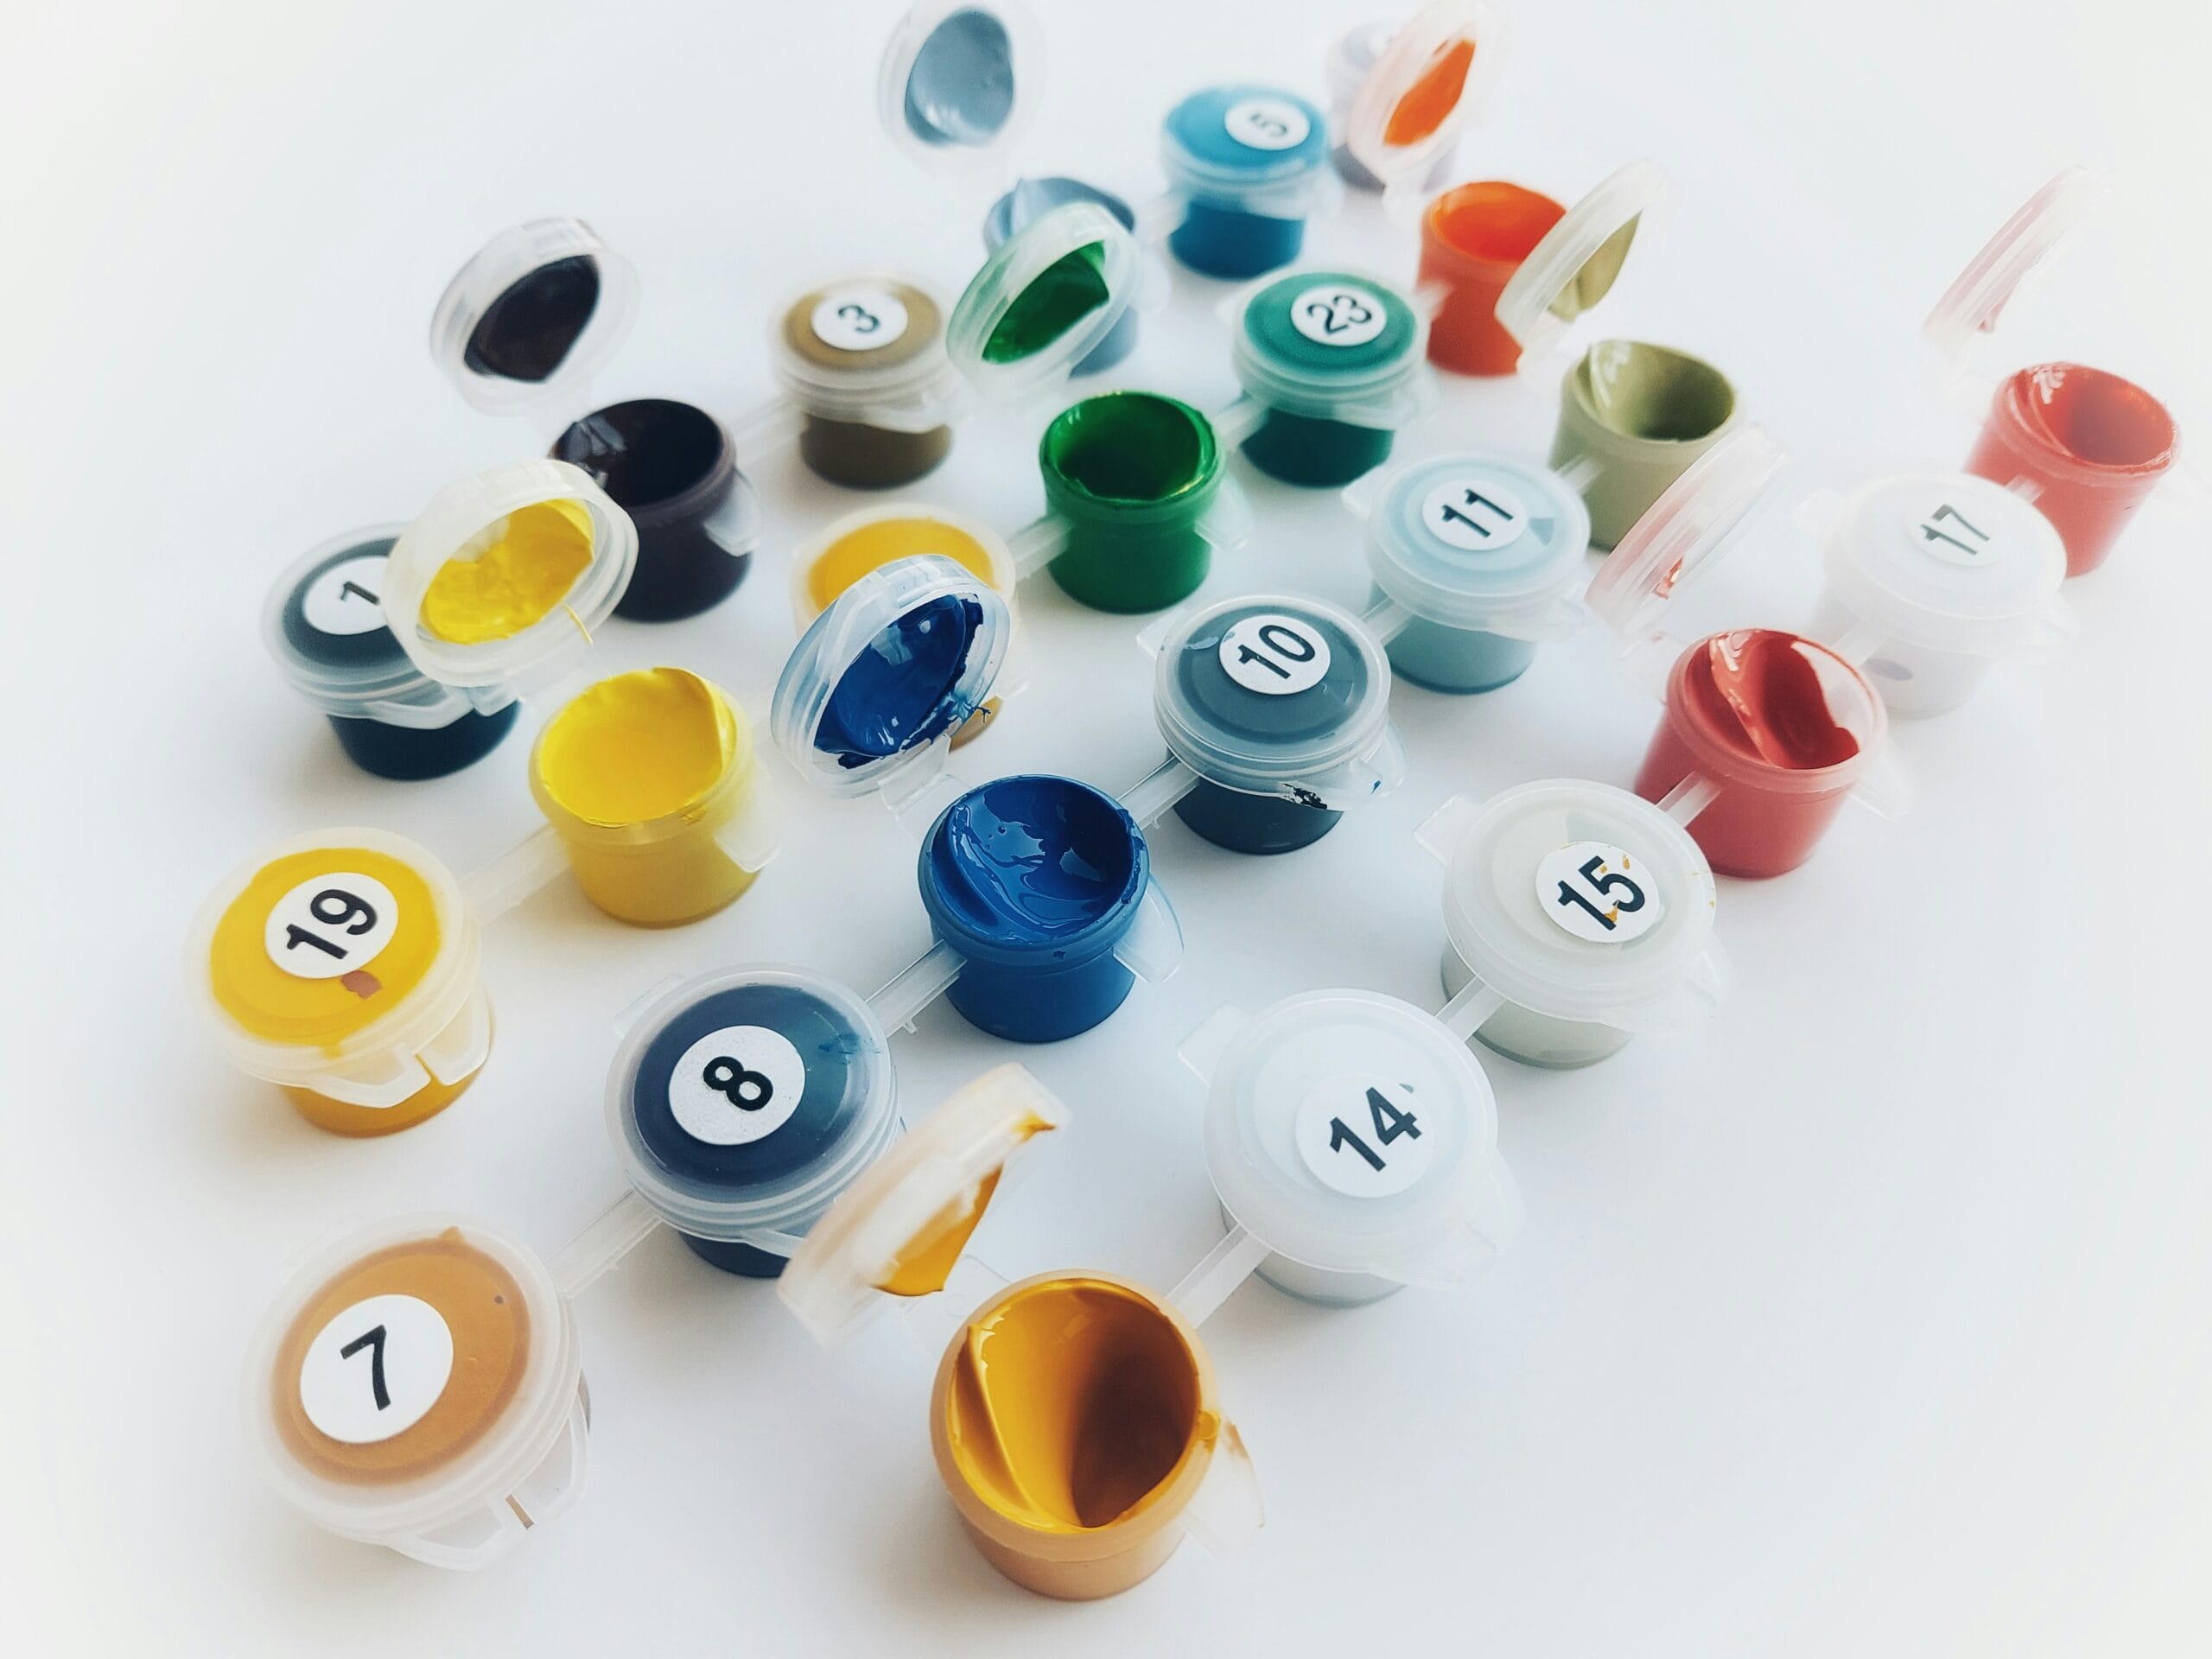
With high-quality kits, such as paint by numbers by Paintingbynumbers-expert, the canvas print is optimised for clarity. However, lighter pigments (like yellows, creams, and pale pinks) are naturally more translucent than darker hues. Knowing how to effectively mask these numbers is essential for creating a polished, professional-looking masterpiece where the guide lines disappear completely.
Key Takeaways
- Prime with white: Using a base layer of white paint or gesso neutralises the black ink of the number.
- The “Whiteout” trick: A white pencil or correction fluid can be used to blot out numbers before painting.
- Layering is key: Applying multiple thin coats is more effective than one thick, gloopy layer.
Understanding Why Numbers Show Through
Before diving into the solutions, it is helpful to understand why this happens. It is rarely a fault of the paint quality; rather, it is a matter of pigment density. Dark colours have strong opacity, easily covering the canvas print. Light colours, by nature, have lower opacity. To ensure a pristine finish, you simply need to prepare the canvas or layer your paint strategically.

Essential Techniques for Hiding Numbers
Achieving a solid, opaque finish requires a few specific techniques. Here are the most effective ways to banish those numbers for good.
The “Whiteout” Method
One of the most popular hacks in the paint by numbers community is using correction fluid (like Tipp-Ex) or a white gel pen. Before you dip your brush into the coloured paint, simply dot a tiny amount of correction fluid over the number. Let it dry completely—this is crucial—and then paint over it with your designated colour. The number will be completely invisible.
The White Pencil Technique
If you are worried about the texture of correction fluid, a white watercolour pencil is a fantastic alternative. Gently colour over the number on the canvas to fade the black ink. Because it is a pencil, it won’t create a ridge or bump on the canvas. Once you apply your acrylic paint, the wax of the pencil blends in or gets covered, leaving a smooth surface.
The “Double Loading” Strategy
For areas that are only slightly translucent, simply applying a second coat is often enough. However, patience is required.
- Apply your first coat of paint and let it dry completely.
- Apply a second coat, dabbing slightly thicker paint right over the number.
- Feather the edges so the paint blends seamlessly with the surrounding area.
Advanced Tips for a Professional Finish
Once you have handled the numbers, you can focus on the overall texture and opacity of your work to ensure the canvas looks like a gallery piece.
Using White Paint or Gesso as a Primer
If you have a large section of light colour (like a sky or a pale dress), use a thin layer of white acrylic paint or clear gesso to prime the area first. Paint over the numbers with white, let it dry, and then apply your coloured paint. This acts as a blank slate, making your top colours pop with more vibrancy.
Texture and Impasto
Don’t be afraid to leave some texture. Acrylic paint allows for an “impasto” style, where visible brush strokes add depth to the painting. By leaving the paint slightly thicker over the numbers, you not only cover the print but also add artistic dimension to your work.
Conclusion
Mastering the art of covering numbers in paint by numbers is a small hurdle that leads to a massive improvement in your final result. By using tools like white pencils, correction fluid, or simply layering your paints with patience, you can ensure that the only thing visible on your canvas is your beautiful brushwork. Whether you are working on a simple landscape or a complex portrait, these tricks will help you achieve a seamless, professional finish.