
Whether you are planning to refresh your bedroom or provide a full new-look to your children’s, it will most definitely start with a fresh coat of paint. Although it may seem like an easy task, it still requires thorough preparation before it can be accomplished. Follow this simple, step-by-step guide to properly prepare your walls for painting and achieve a high-quality, long-lasting finish.

Professional Painting Services: The Ultimate Solution
Let’s face it: Not everyone can claim to be a handyman/woman. Our home is where we go back to for safety and comfort. Therefore, neglecting the quality of the work can impact our well-being. Having to sit in a room where you are reminded daily that the painting job wasn’t done properly, will become a disturbance that you will quickly want to fix by redoing the work again.
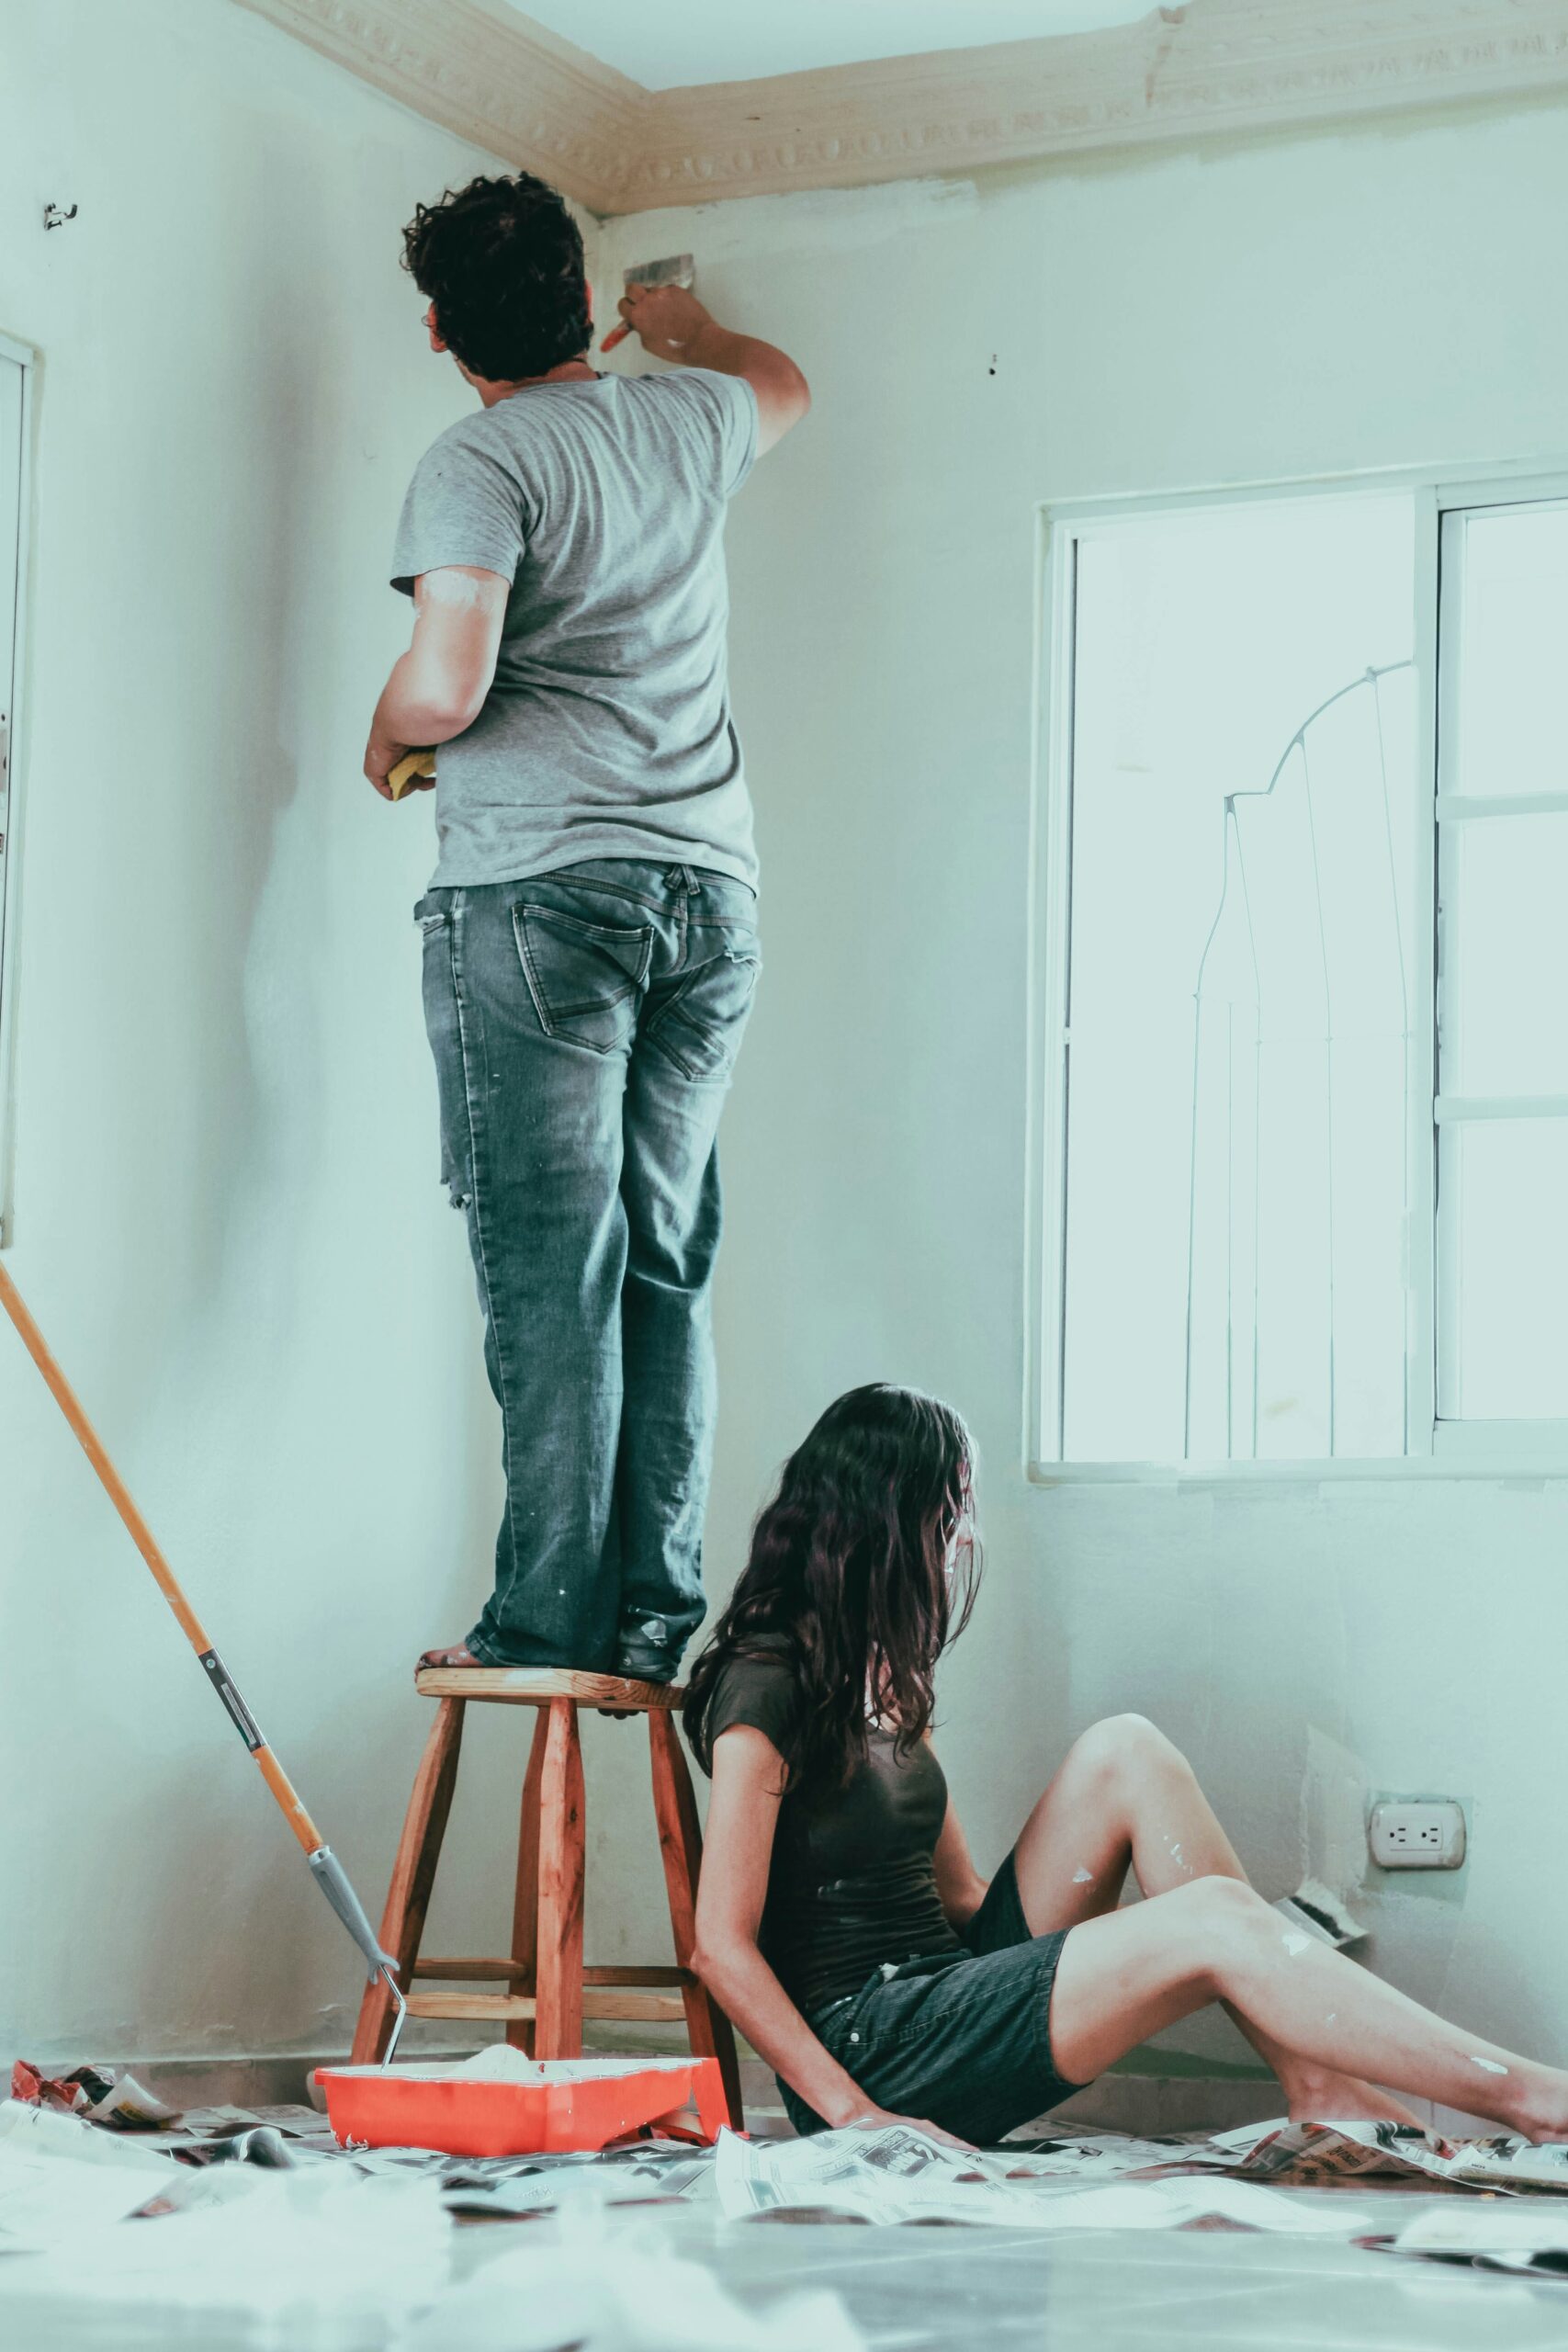
That is why, it is recommended to use professional painting services. It guarantees the job will be done right the first time. This way, you can devote the hours required to complete the work on other more important things, like personal projects or spending quality time with the kids. If busying yourself around the house brings you pleasure, here are the steps you need to take before applying paint on your walls, for a professional finish.
First Step: Gather the Materials needed to proceed
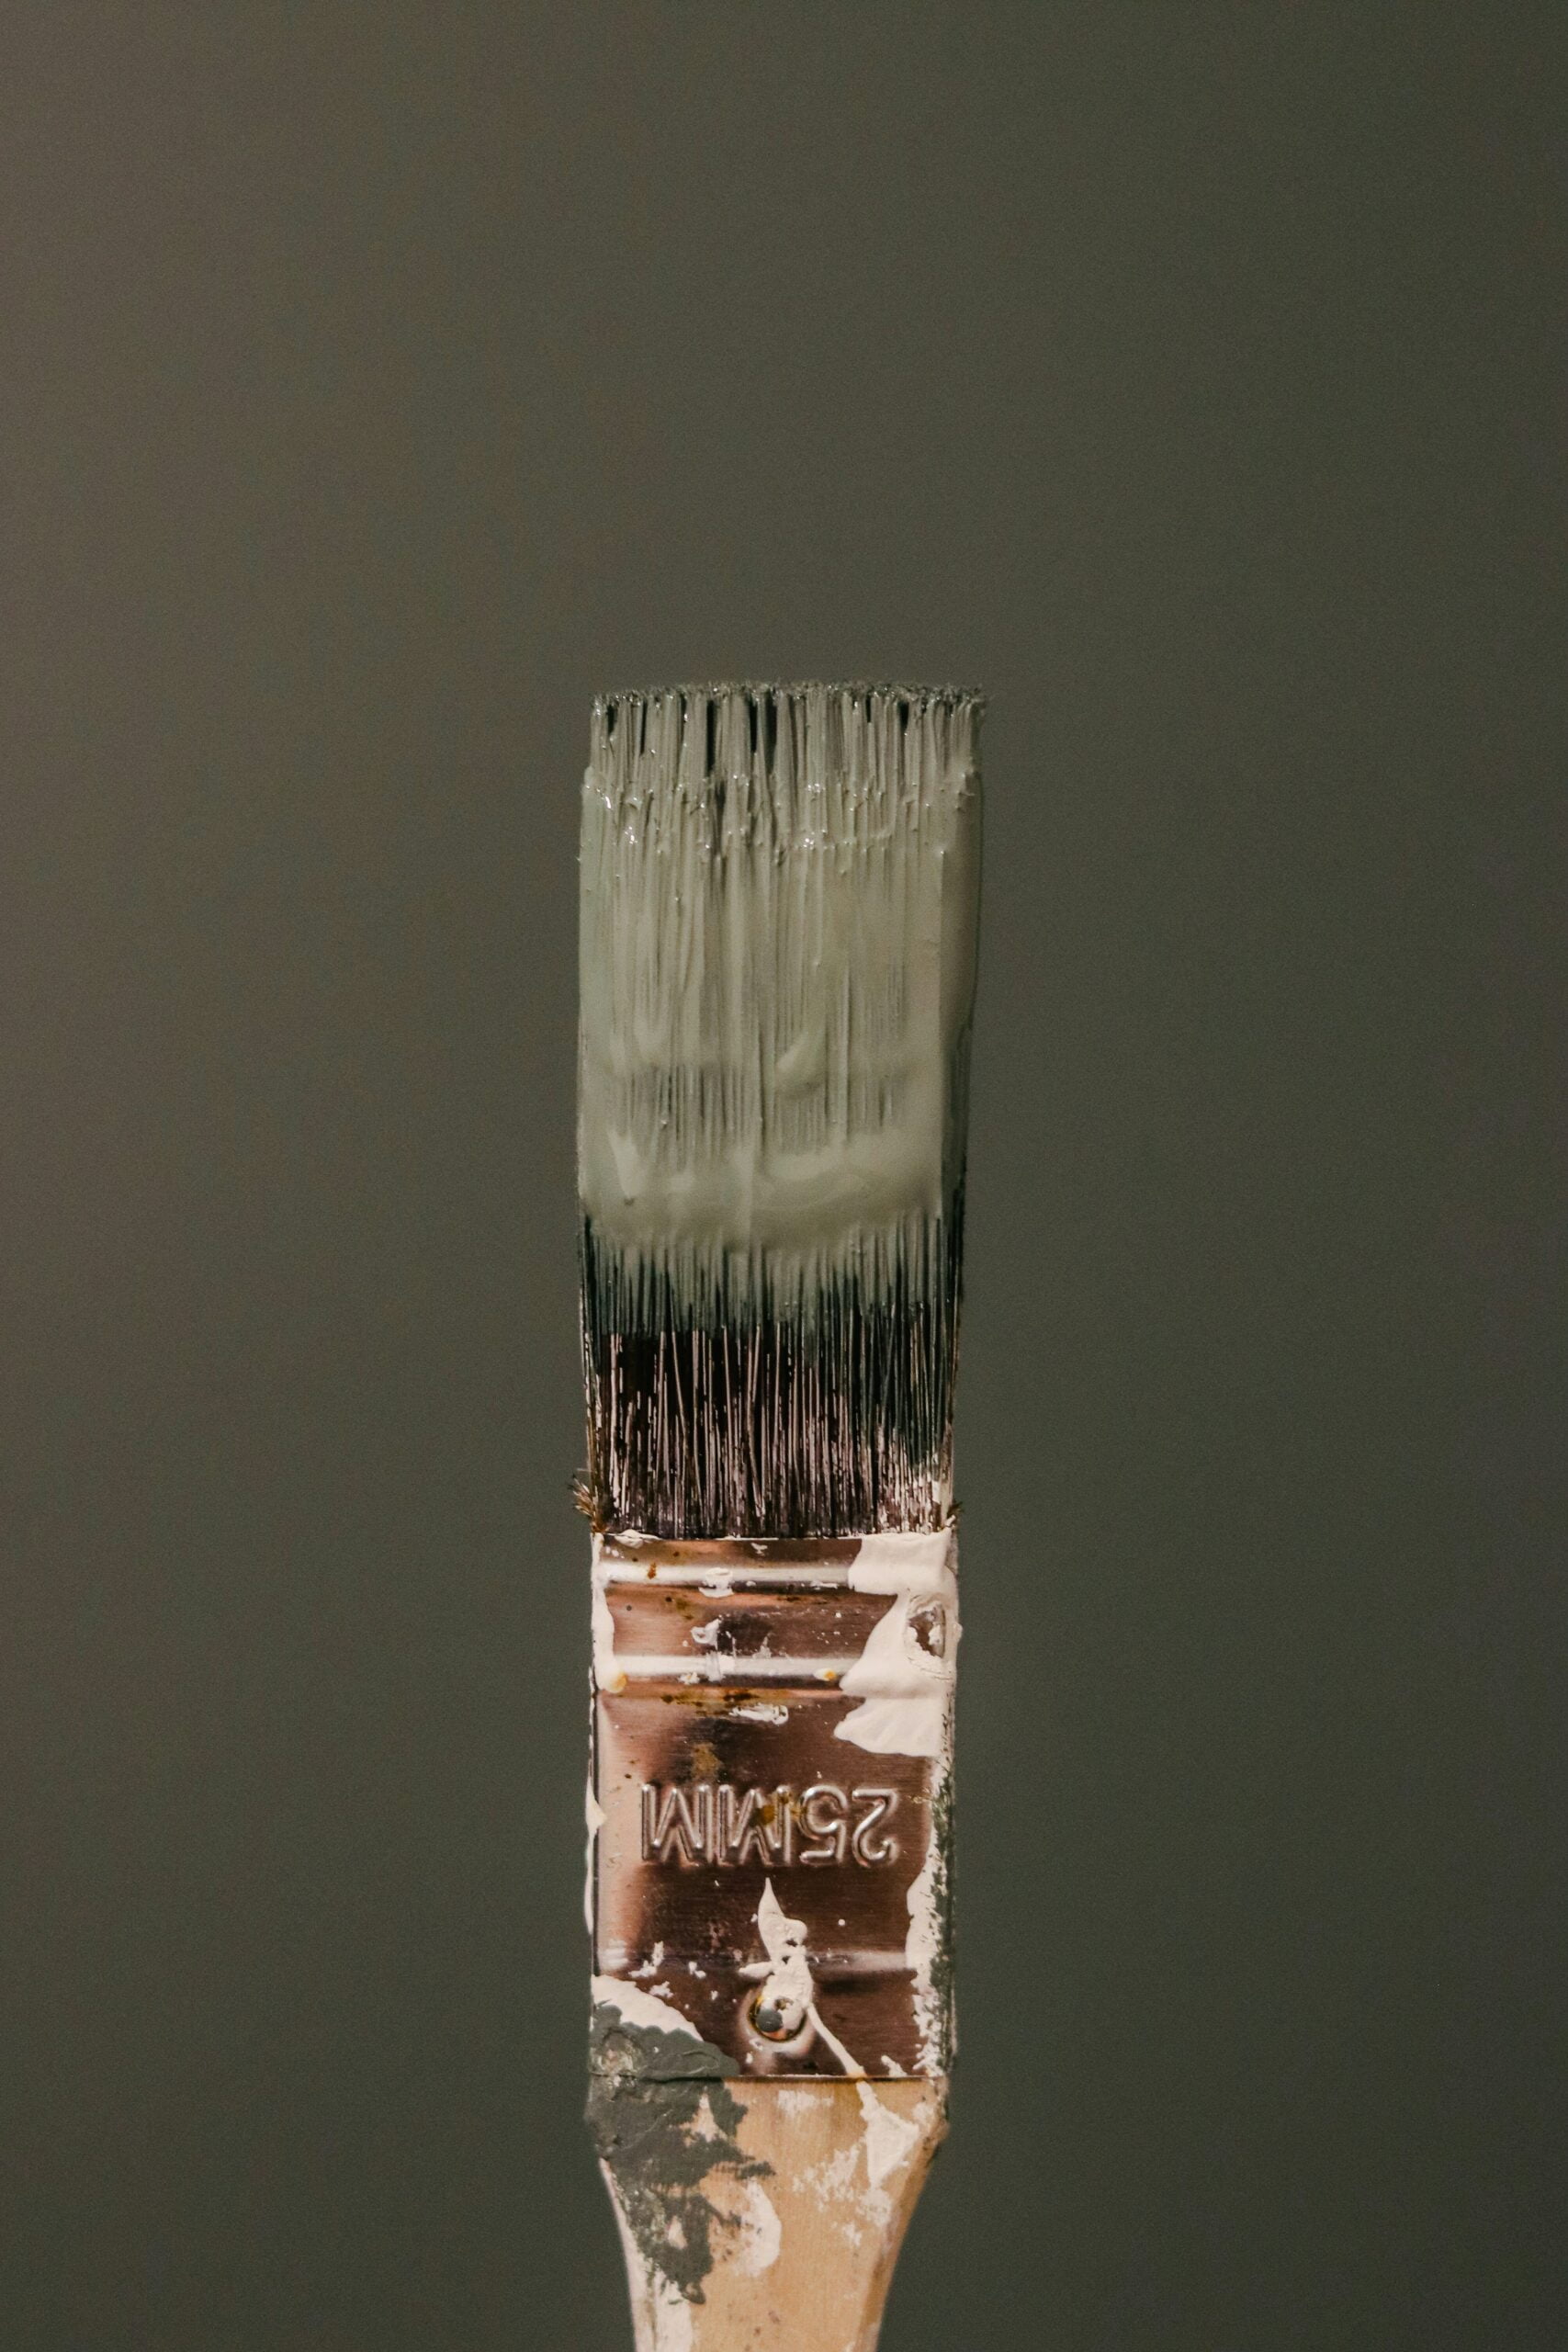
Once you have removed the furniture and all objects that could constitute obstacles to the preparation and painting of the walls, bring all the materials that you will need inside the room. It should include: Drop cloths (to protect the floor and any furniture left in the room), painter’s tape (to protect trim and edges), tack cloth (for dust and debris), damp cloth or sponge with mild soap and water (to clean the walls), sandpaper (to smooth imperfections), spackle and spackle knife (to fill holes) and primer. You can also gather the painting materials, which would be paintbrushes and rollers, paint tray and the paint itself.
Second Step: Clean the Walls
Cleaning is meant to remove any dust, dirt or grease from the walls so that the paint will adhere and that no imperfection could be caused by leftovers, in the end. To do so, use a damp cloth or sponge with mild soap and water. Once you are done, rinse the walls with clean water and allow them to dry completely before you start painting.
Third Steps: Fill Holes and Cracks
When the walls are clean, you’ll be provided with a clearer picture of the imperfections that need to be handled before painting the walls. They will include holes and cracks as well as dents. Use spackle and knife to fill them, then wait for it to dry before sanding the surface until it is smooth.
Fourth Steps: Apply Primer
To properly paint a wall, it is important to first apply a layer of primer. Skipping this step can result in the paint not sticking properly and creating an uneven finish. Note that you may have to lightly sand the walls again after the primer has dried. Look for imperfections and correct them with the sandpaper.
Finally, you are almost ready to start painting the walls. But before doing so, use a tack cloth to remove any dust or debris left behind from sanding. Once the task is completed, pick up your paint brush or roller and begin to colour your world.
1 comment